

(Part Two: Getting Started)
“Where to start” is, I think, one of the most difficult parts of revising. Whether you have a bright, shiny new first draft in your hands, you’re on draft three, reeling from the feedback your critique partner just gave you, or smarting from a few agent rejections and knowing that your manuscript needs to be reworked, but uncertain how, beginning your revisions can be a daunting task. Why else did it take me five NaNoWriMos before I even attempted to revise any of my flawed little baby first drafts, even then ending up with an exquisitely crafted and polished first chapter, while the rest of the draft was a tangled mess?
By sharing my revision processes with you, I hope I can give you some inspiration on how to get started on your next draft, whichever draft it may be. Because, surprise, surprise, I write multiple drafts and often adapt a similar process for each of them, depending on the needs of the story.
Before we get started, I’ll point out that not only do different revision methods resonate with different authors, so my suggestions might not work for you, and that is okay, but also, different books have different needs. My YA Contemporary Fantasy had a strong beginning, according to both my mentor and my agent, but the ending took a few tries not to feel rushed and to feel earned. My Adult Fantasy, or rather, Adult Historical Fantasy, has a framing device that needed substantial work, as well as needing additional research between the first draft and the drafts I sent to my agent. I am all about starting with one method of revision and adopting it to make it your own, or rather, your story’s own.
So, without further ado, let’s get started!
Step One: Take a Break
So, you have just finished your first draft, and you’re eager to leap right in and make it look like a polished book. Congratulations! Hang onto that enthusiasm: you’re going to need it! But, as disappointing as this is for some people, I don’t recommend you start revising the moment you finish your draft. The book will still be too fresh in your head. Your brain is likely to read it as the book you meant to write, rather than as the book it is. If you dive right into revisions right away, you’ll be too close to the material. Plot holes will be easy to miss because you will fill then in with your brain. Characters will read as you meant to write them, and not as you actually did.
So how long a break? That is going to depend on you. For me, a month is ideal, but if you’re on a deadline, you might have a week or less. Do what you can. Use the time to work on another project, if you are the sort of writing who can spin multiple plates in the air at once. Try writing some short stories or even flash fiction. If you’re like me and tend to accumulate writing craft books without having time to read them, in between drafts can be a great opportunity. As a bonus, you will have all that juicy craft related information fresh in your brain when you begin to revise!
Optional Step 1 1/2: The Revision Contract
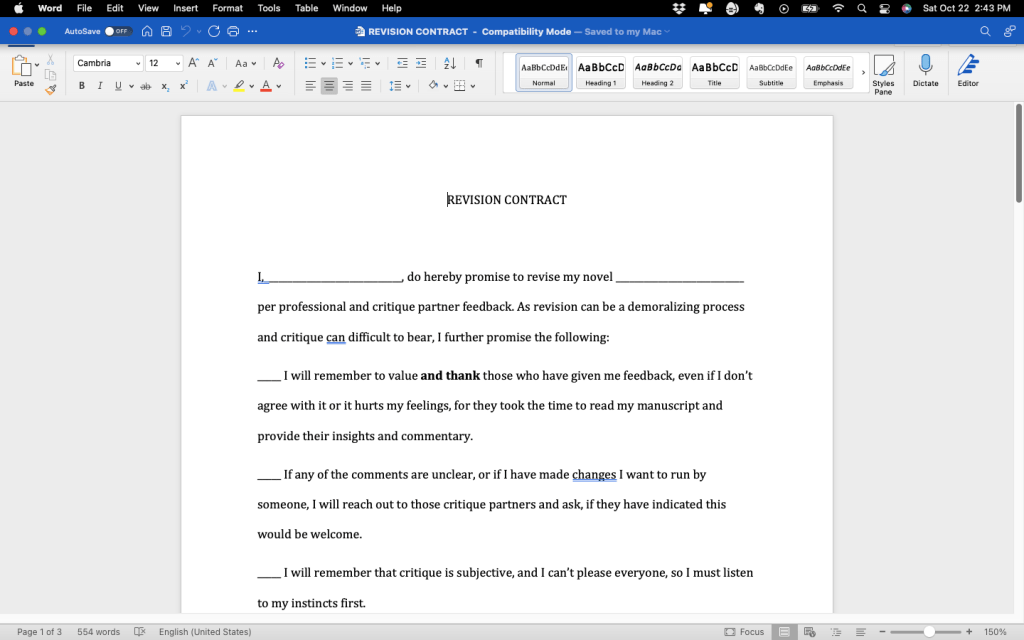
This is a step I came up with because I suffer from depression and generalized anxiety, which means I get discouraged, overwhelmed, and emotional very easily. Sometimes revising, particularly in response to agent and critique partner feedback, but even just to my own standards can be A Lot. I get frustrated with myself when a particular scene doesn’t seem to be working, or when I get feedback I want to implement but I don’t know how. So, I created a Revision Contract, which acknowledges those feelings while reminding me of my self-worth and encouraging me not to give up. I’m sharing a screenshot here (there is also a version specifically for agent feedback), but if you would like me to email the whole thing, use the contact form and I will be happy to!
Step Two: The Read Through
After you’ve taken a break from your previous draft, whether it was a week, a month, or six months, it’s time to sit down and read your manuscript as a whole. I recommend reading it like a reader would, pretending you didn’t write it. Printing your manuscript is one option, albeit an expensive and environmentally unfriendly one. Another option is to send the manuscript to your e-reader, usually changing the font, which helps trick the brain into thinking “I did not write this.” The e-reader works well because you can take notes, but you can’t change anything, preventing your making corrections as you go. If you don’t have a printer or e-reader, and you must read your manuscript on the same device you wrote it on, you might change the font and save your manuscript to read as a pdf.
As you read through your manuscript, think about the things you want to change. Is the pacing lacking? Does the middle sag? Are your villain’s motivations unclear? Take notes, being as specific as you can, but don’t make any changes yet.
Please note: emotionally speaking, this can be the most difficult part to get through, even though it should only take you a matter of days. Whether we suffer from imposter syndrome and are certain everything we write is trash, or we’re convinced this draft is the most amazing thing we–no, ANYONE has ever written, coming face to face with the words on the page can be kind of rough. I know for me, the prose always sounds so trite and overfamiliar, and that’s one hundred percent because I’m the one who wrote it. I have the story as it should be stuck in my head, and of course this draft won’t measure up. If this is you, too, be kind to yourself while doing the read through, and remember, you CAN improve this book!
Step Three: The Outline
Note: If you are a plotter, and you stuck incredibly close to your outline as you drafted, congratulations! You might not need to do this step. Read through your original outline and adjust for where your manuscript veered off the original plan. If you use notecards, as I often do, you might use a different color notecard for the scenes you added and remove (but don’t throw away) the scenes you didn’t end up using.
If you are a pantser, “discovery writer,” or a plotter who did not stick close to your original outline, this is the opportunity to reverse outline your first draft. I like to do this on notecards, sometimes using a different color for each act of the story, to give me a visual, however flawed, of how much space act three is taking up in comparison to act one etc. You can also just outline on your computer, in Scrivener, or by whatever other method works for you. You want an easily accessible record of what happens in your manuscript when, so you don’t have to page through it to find out where you introduced the mad scientist’s daughter, or whether it was a sorcerer or wizard your team encountered in chapter three. It is also good to have an outline so you can make notes on it where you want to make your changes before you do.
Step Four: Planning Your Changes
Novels are long. At least 50,000 words. Revising them is a lot of work. This is why planning is so important for me. Whether I am implementing my own notes on what I want to fix, or I am several drafts down the line and have critique partner feedback to use, it helps me to organize those changes based on their size and nature. I categorize the revisions I want to make from one to five. Level One changes are big picture revisions that affect the whole manuscript, or most of it, and often relate to the plot: I need an entirely new ending. Make the story take place over a weekend instead of a summer. Get rid of the entire drill team and move the action to summer camp, that sort of thing. Level Two is for changes that are still big, but not quite as all-encompassing, and often relate to characterization. Here, and with Level Three especially, we may be moving onto changes that are only at the scene level and related to pacing. By the time we get down to Level Five, we’re looking at grammar and spelling errors, removing filters and repetition, smaller changes like that.
When I’ve gone back over my feedback or notes and sorted potential changes into Levels one through five, that’s when it’s time to look over my outline and make notes on which changes need to be made where. It’s a lot of prep work, yes, but it makes the rest of the work go much more smoothly, and the task of revision is much less daunting after I’ve made a plan.
